Sepia photography never loses its coolness, drama, and creative appeal. Sepia toning photographs used to take so much effort and skill in the darkroom, but these days it can be done using Photoshop or Gimp software. Here are some quick tips to do it.

Image source: Pixabay.com
In a conventional darkroom setting, sepia toning takes on multiple steps, with the toner altering the photography’s chemical composition and replacing the metallic silver in the image with compounds like silver sulfide. Some mix their own toner. To do this traditional process, one needs a sepia toner, an actual photograph printed on black and white paper, plastic trays, a well-ventilated area, containers for mixing the chemicals, tongs, and a squeegee.
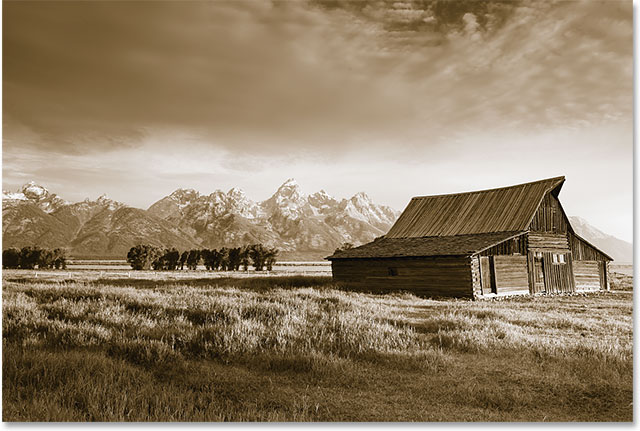
Sepia toning using digital software such as Photoshop is much simpler than this conventional technique. If the image, for instance, isn’t black and white already, it can be converted to grayscale and settings can be tweaked further. One can experiment with changing the density to change the image.
 |
Image source: photoshopessentials.com
|
There’s much that sepia does to improve the atmosphere of a given photograph. It softens the light in the photo, offering the best results with images that are exposed well, with nice contrast, and a full range of whites, grays, and blacks. In summary, there’s plenty of resources out there available to sepia-tone photos the old-school way, or in the darkroom. For the digital way, master photo editing tools properly and get ideal results.
Daniel D. Purjes is a nature and urban photographer. After he graduated from college in New York, he made the big shift to Vermont, where he’s currently pursuing nature photography and he basking in the beauty of the landscapes. Learn more on this page.
No comments:
Post a Comment